
Wall mounting is a fantastic way to save space and create a sleek and stylish look in your gaming room.
However, if you're new to wall mounting, it can be daunting. There are many things to consider, including the right location for your mount, how to install it properly, and choosing the right mount for your device. This beginner's guide will walk you through the basics of wall mounting using FLOATING GRIP products.
Choosing the Correct Mount for Your TV and Consoles
Secure TV Mount
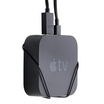
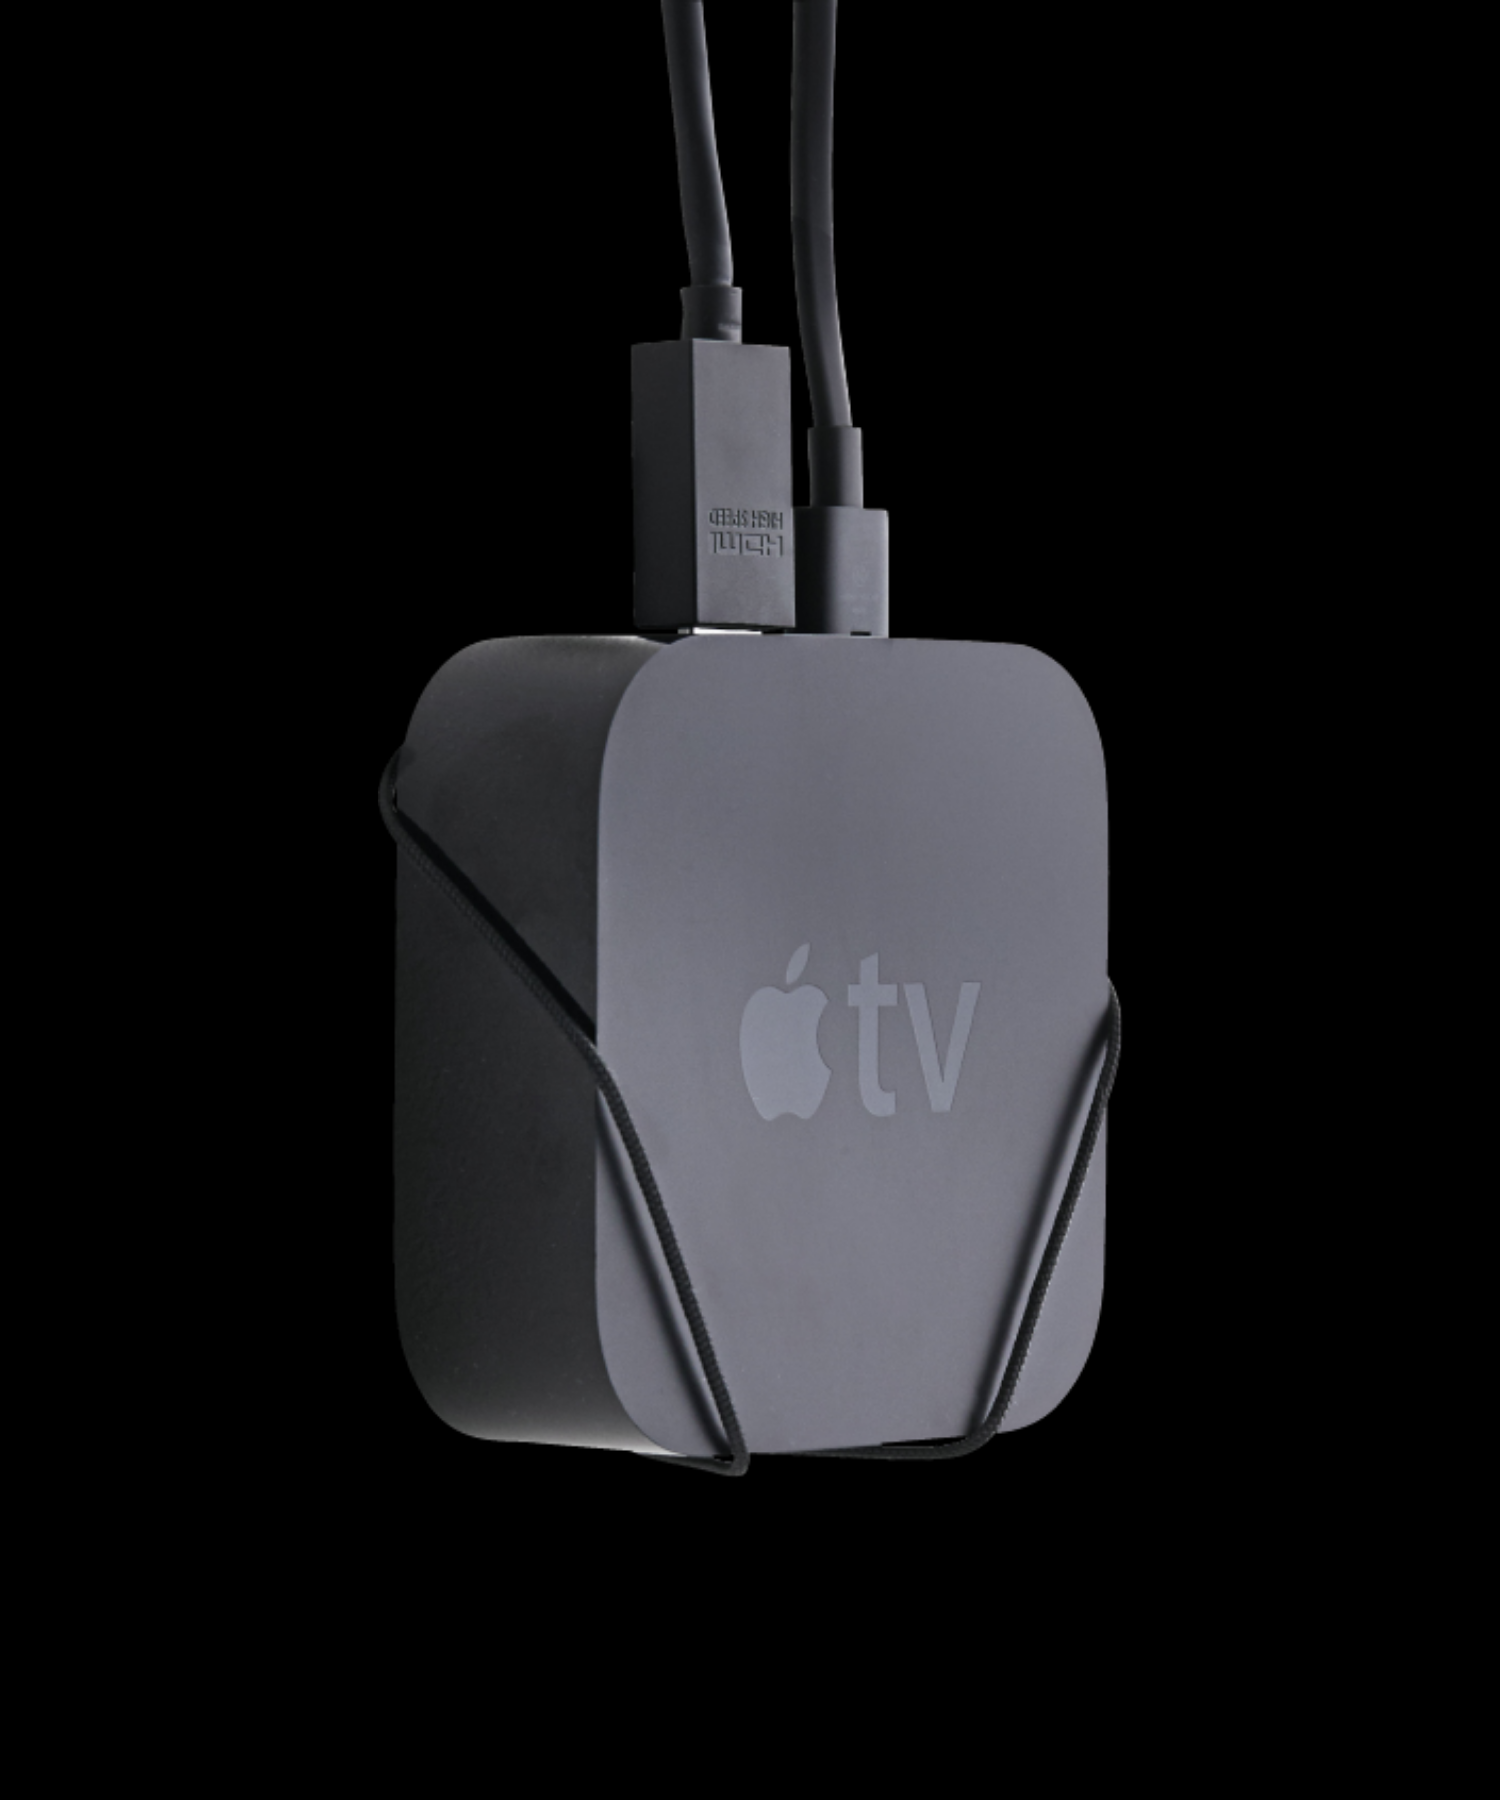
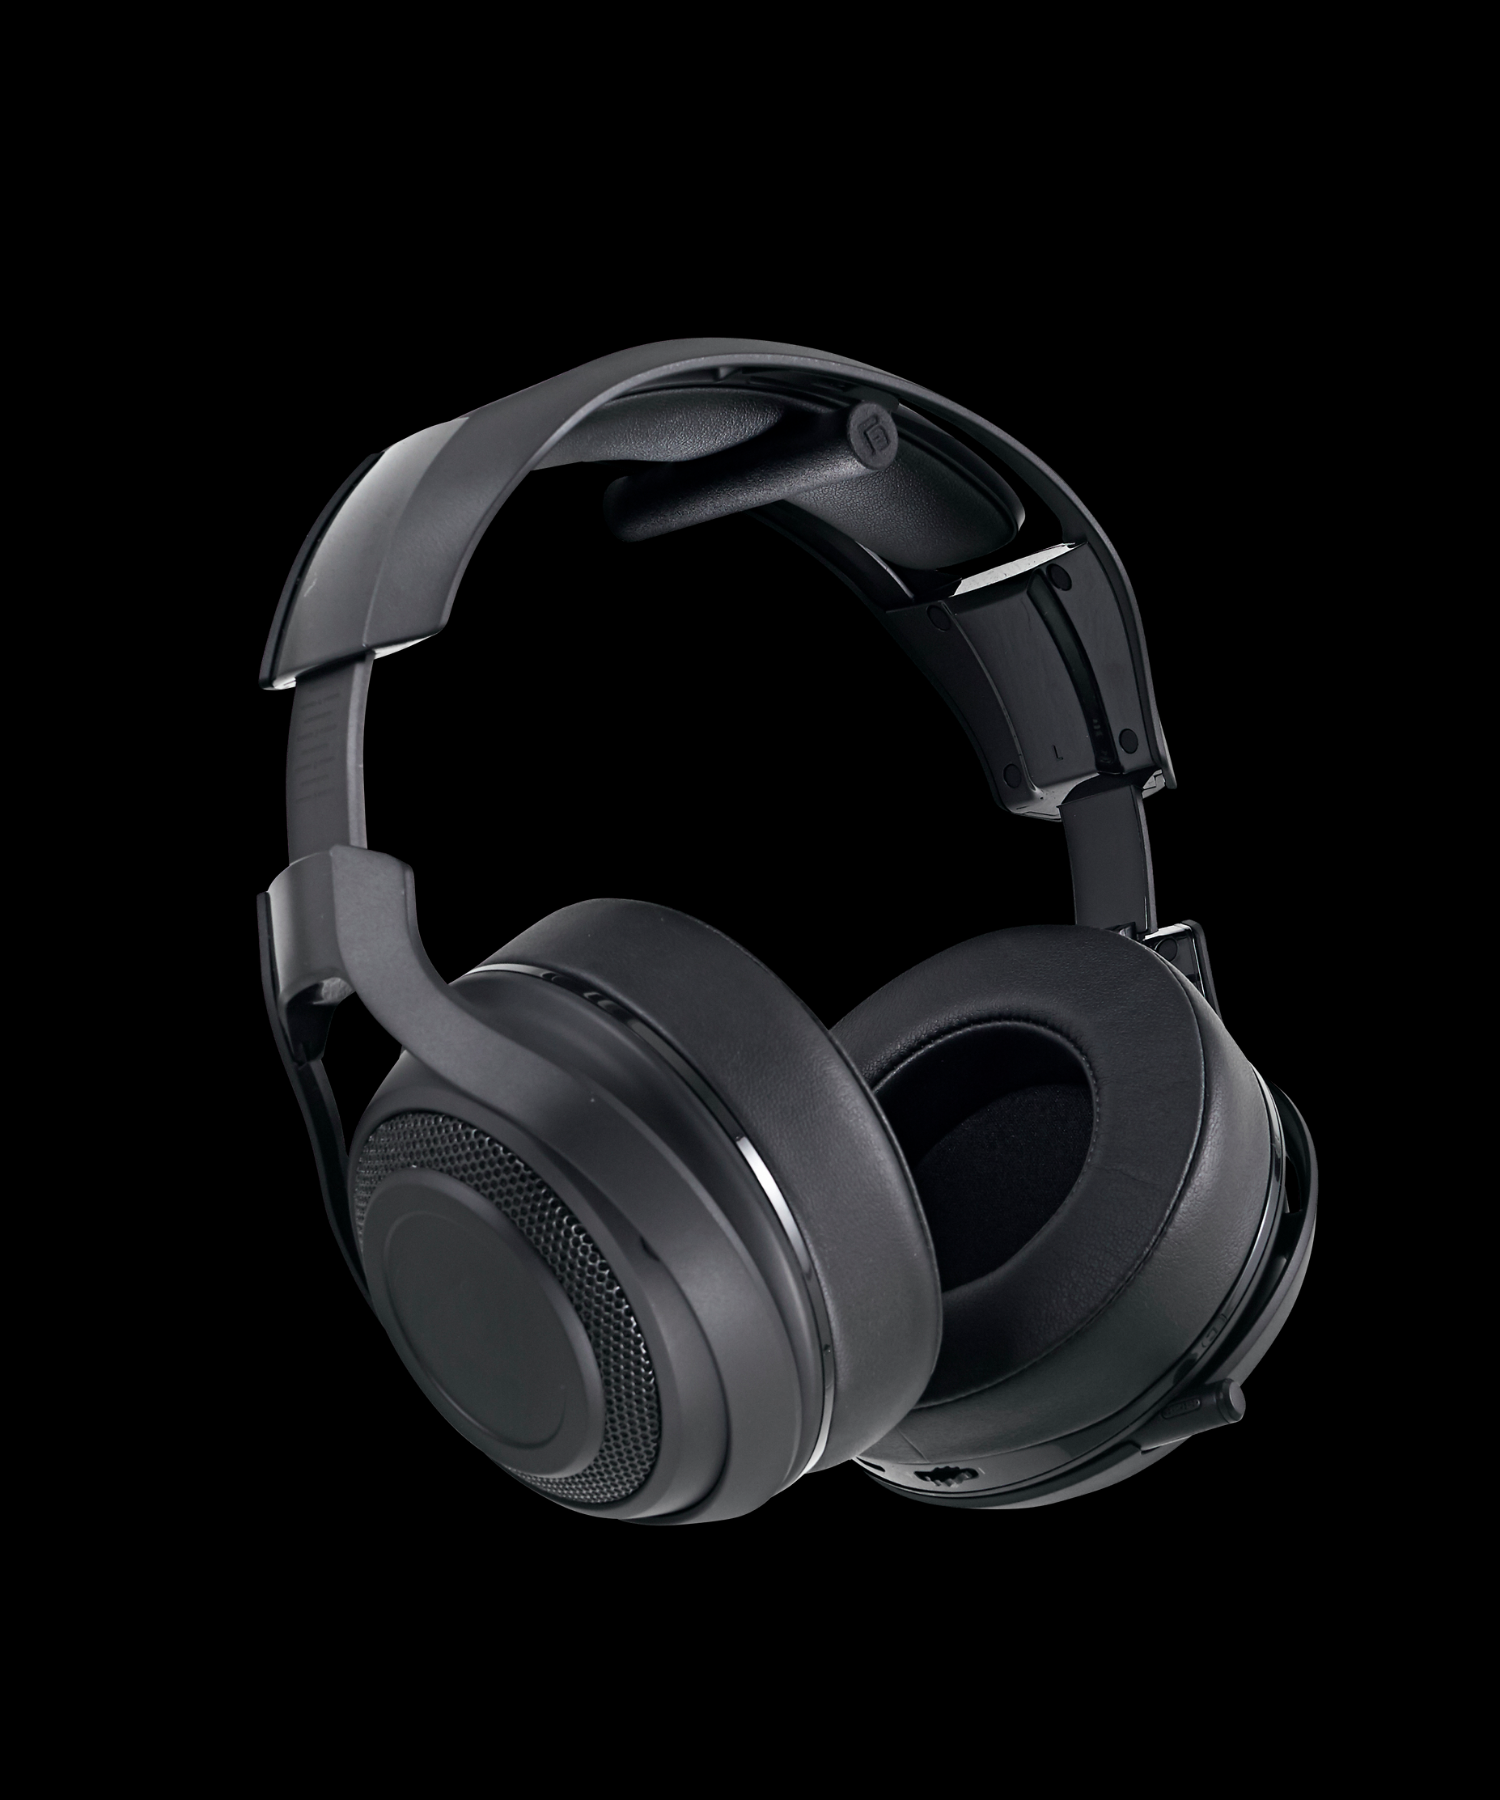
Before we dive into the installation process, it's important to emphasise the importance of choosing a secure TV mount. A secure TV mount will not only keep your TV in place but also protect it from accidental damage caused by falling off the wall. When selecting a TV mount, make sure to choose a mount with a weight capacity to support your TV's weight. Looking for a mount for Apple TV? We got you!
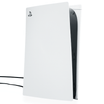
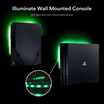
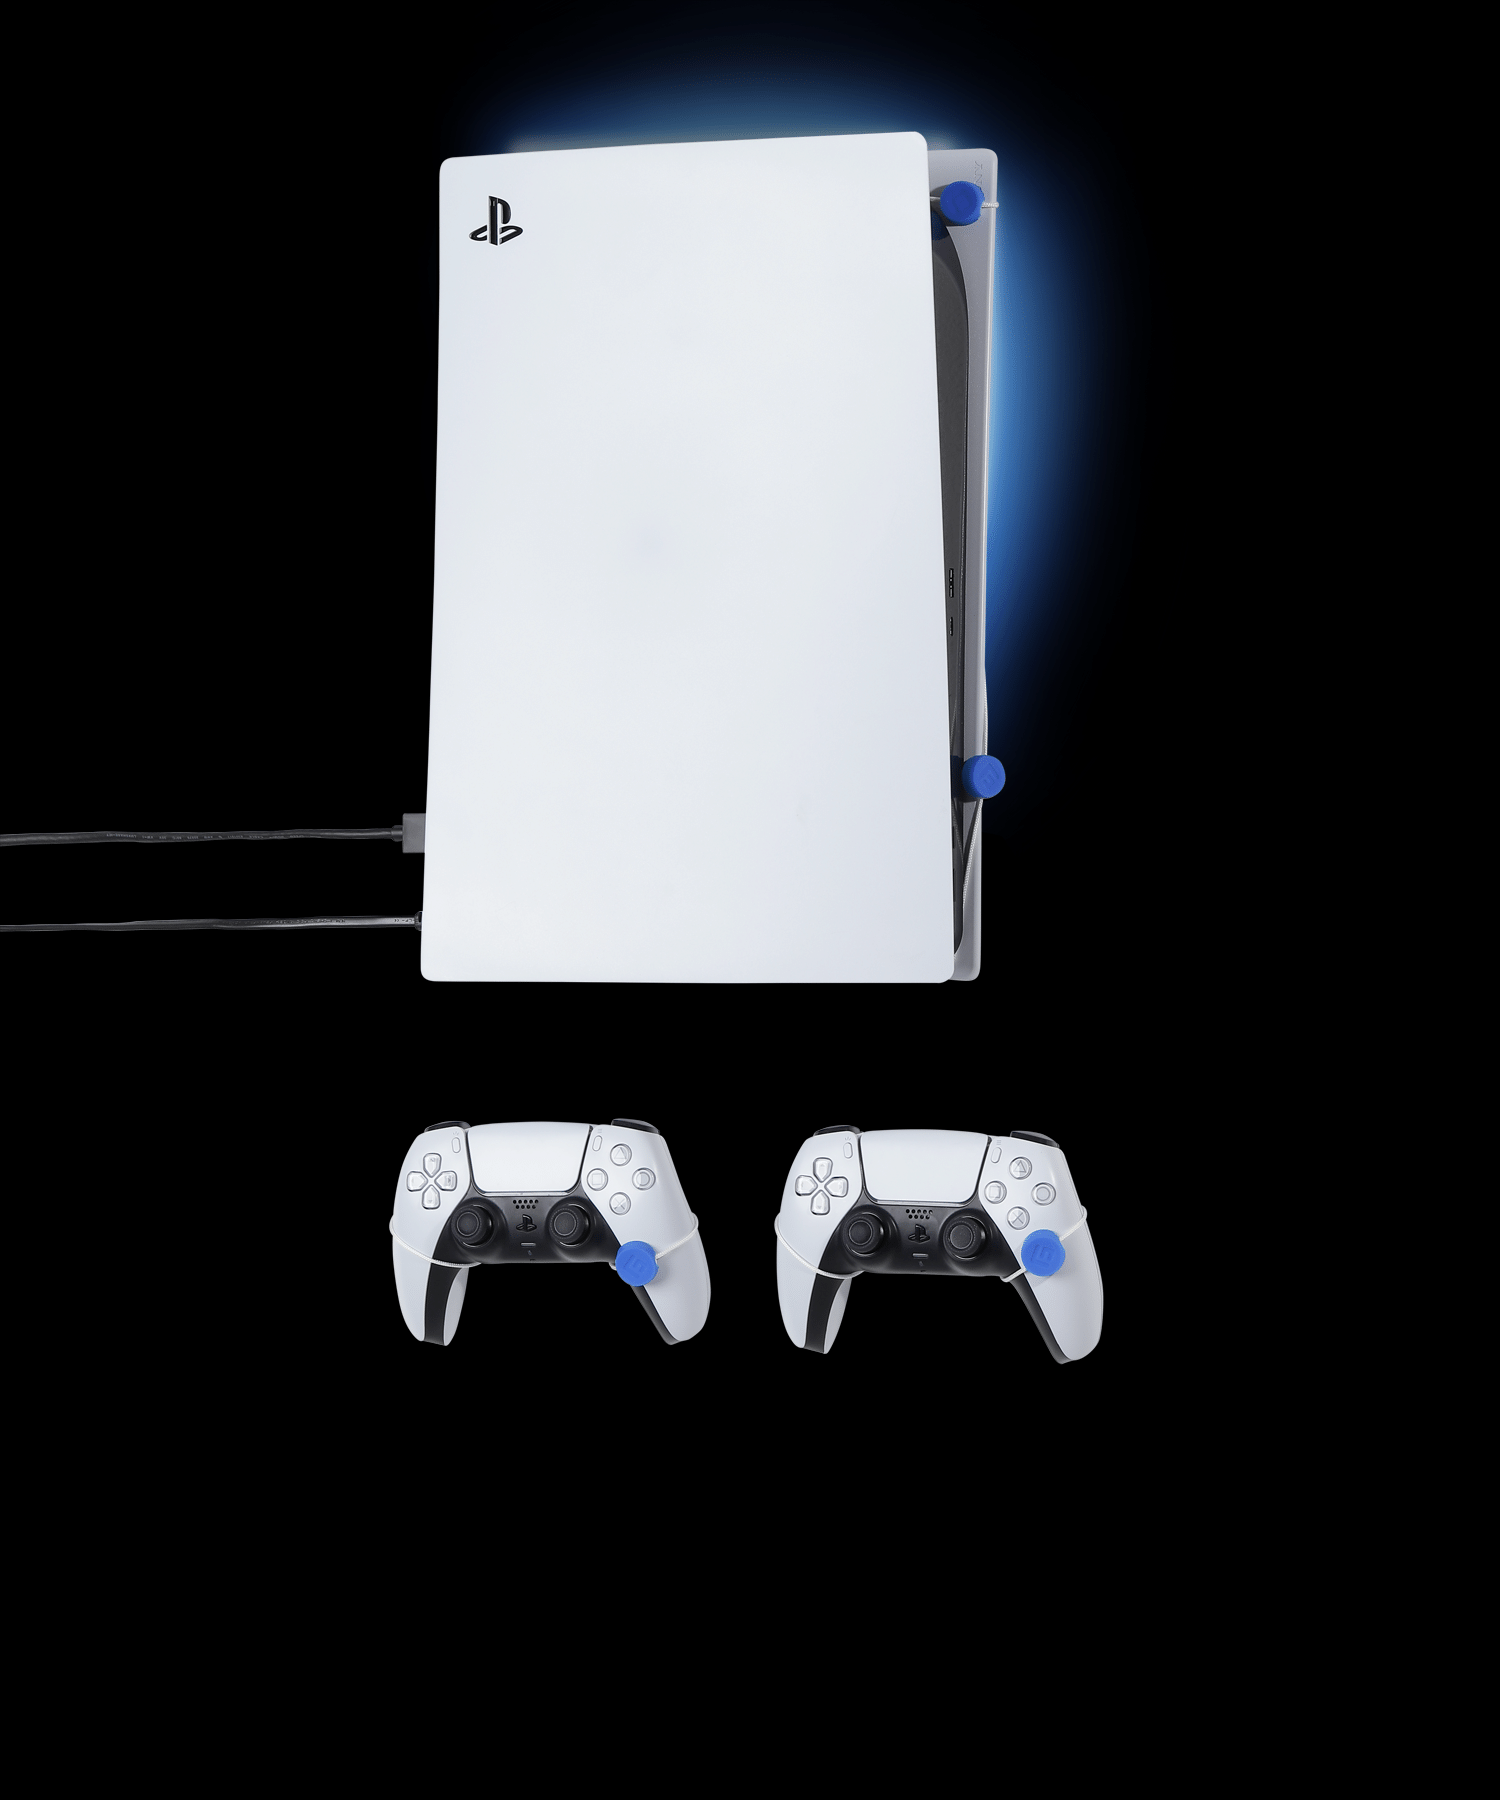
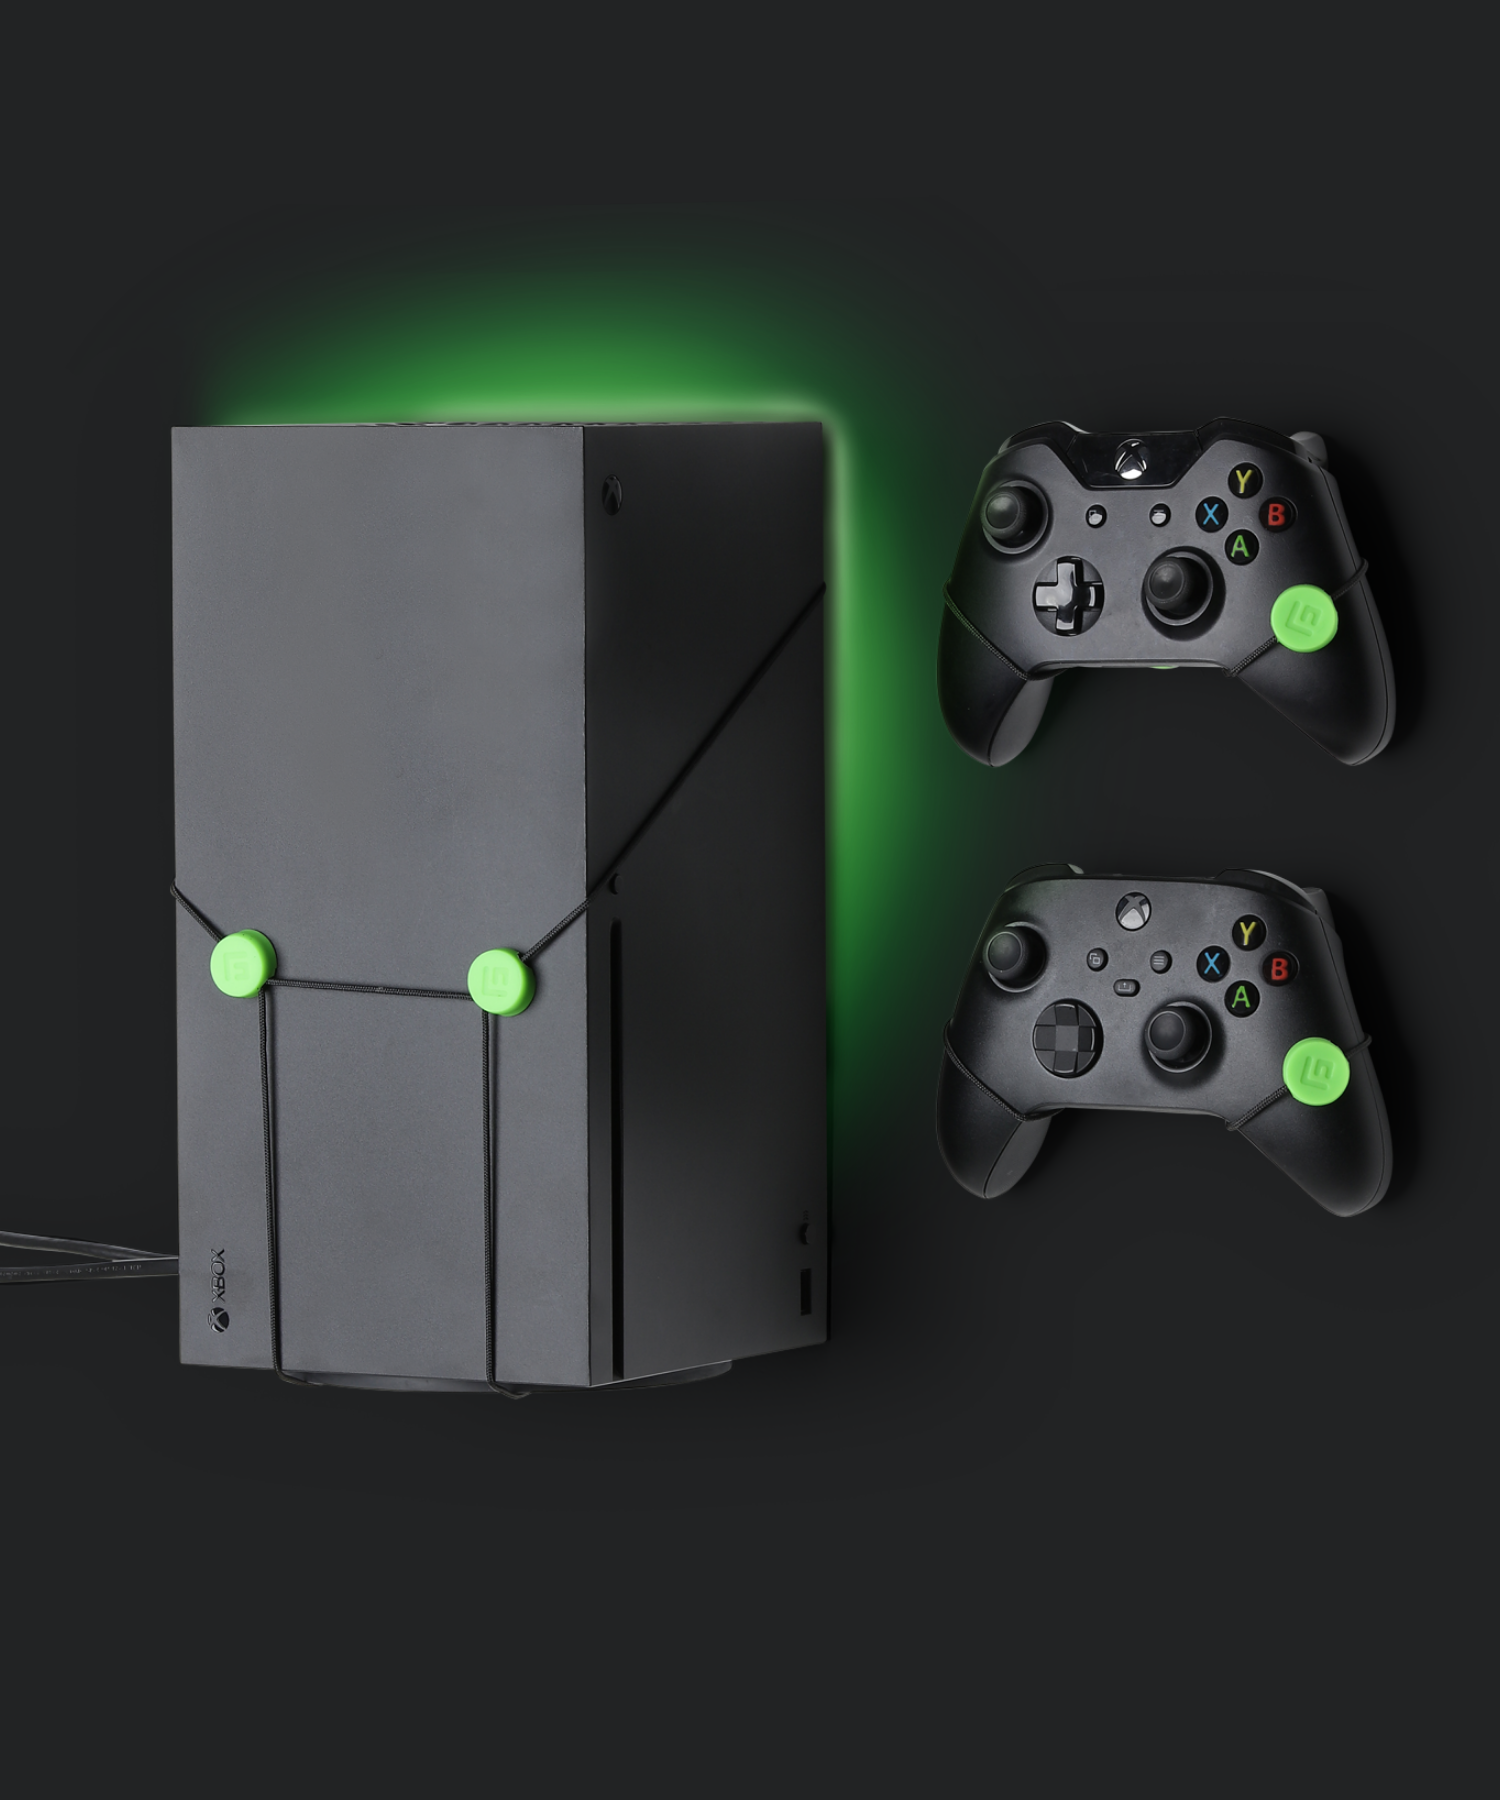
Wall-mounted Console Holder
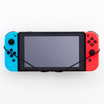
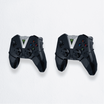
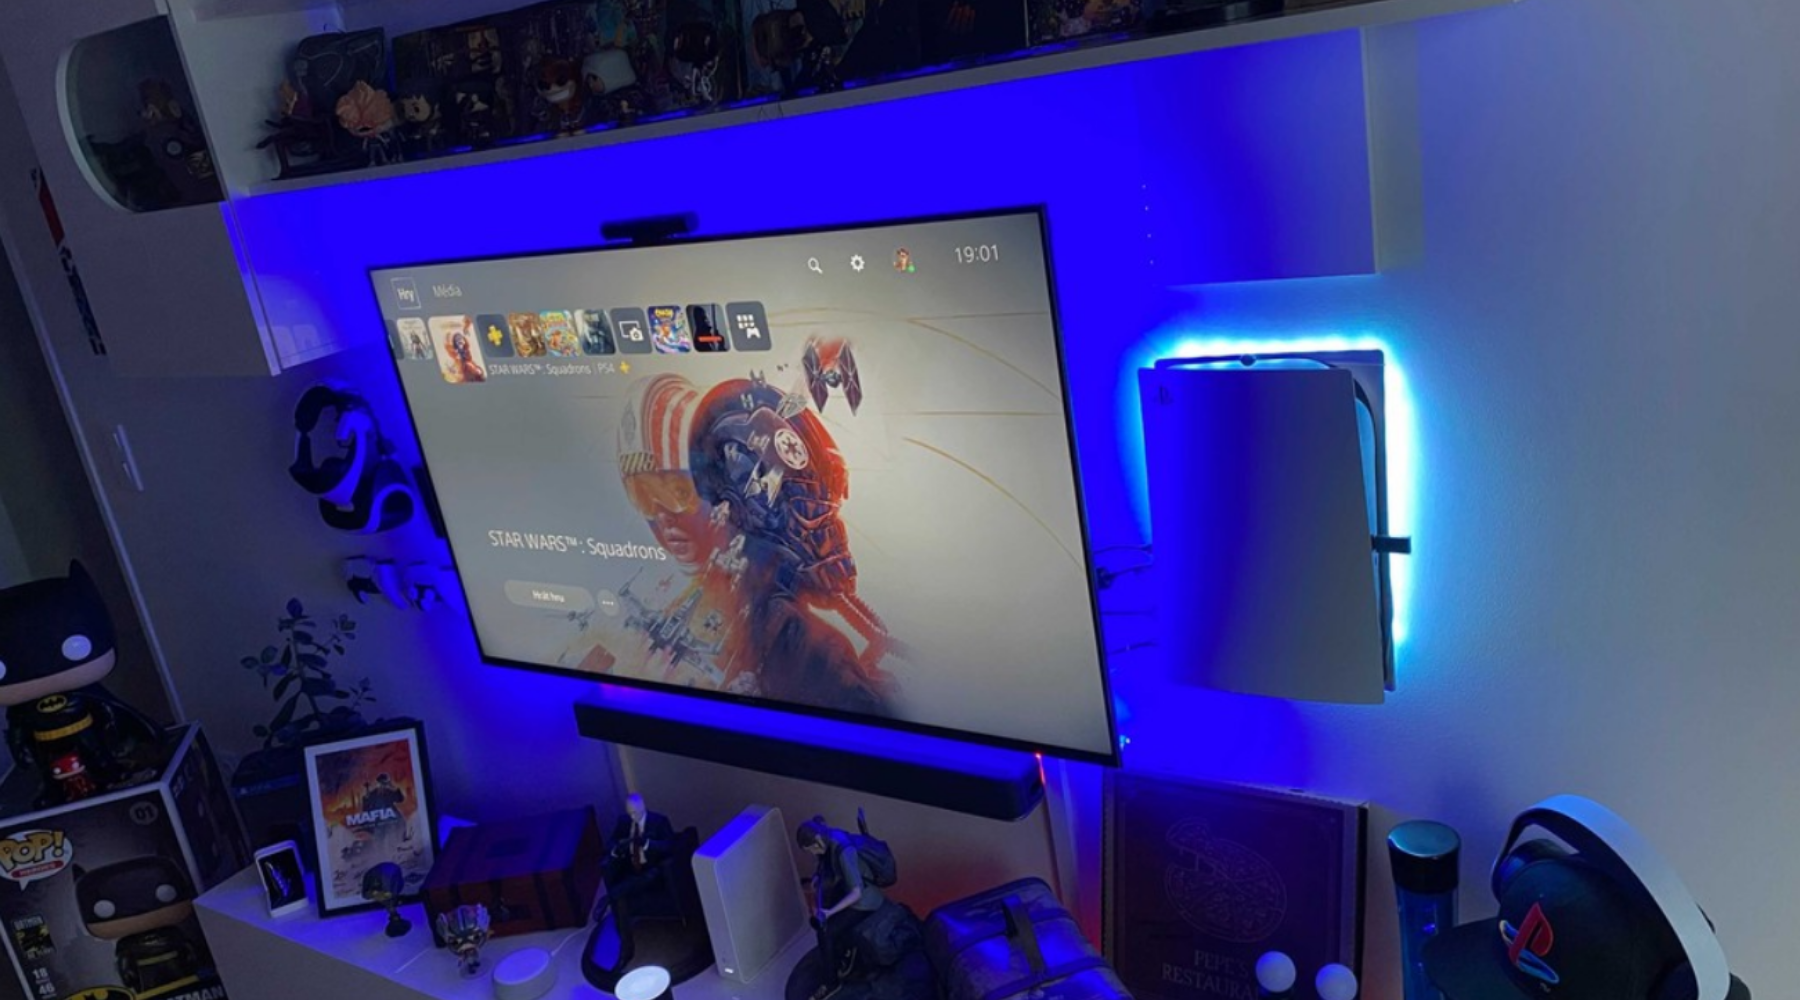
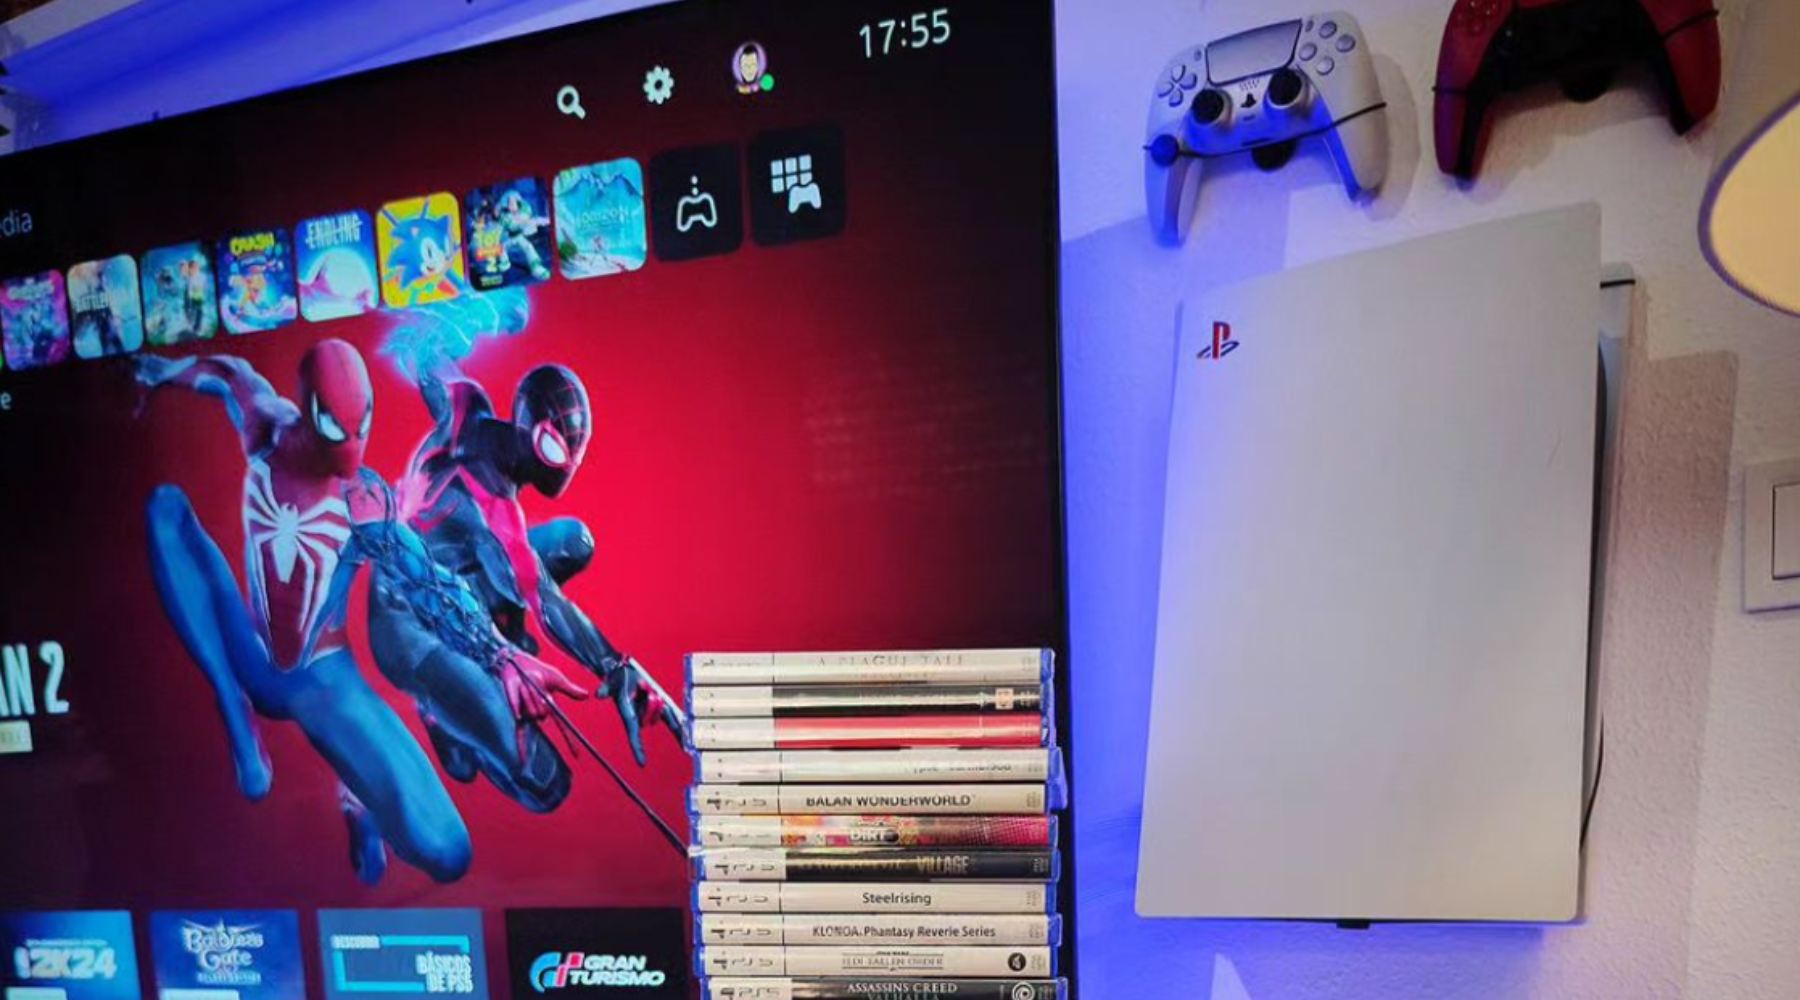
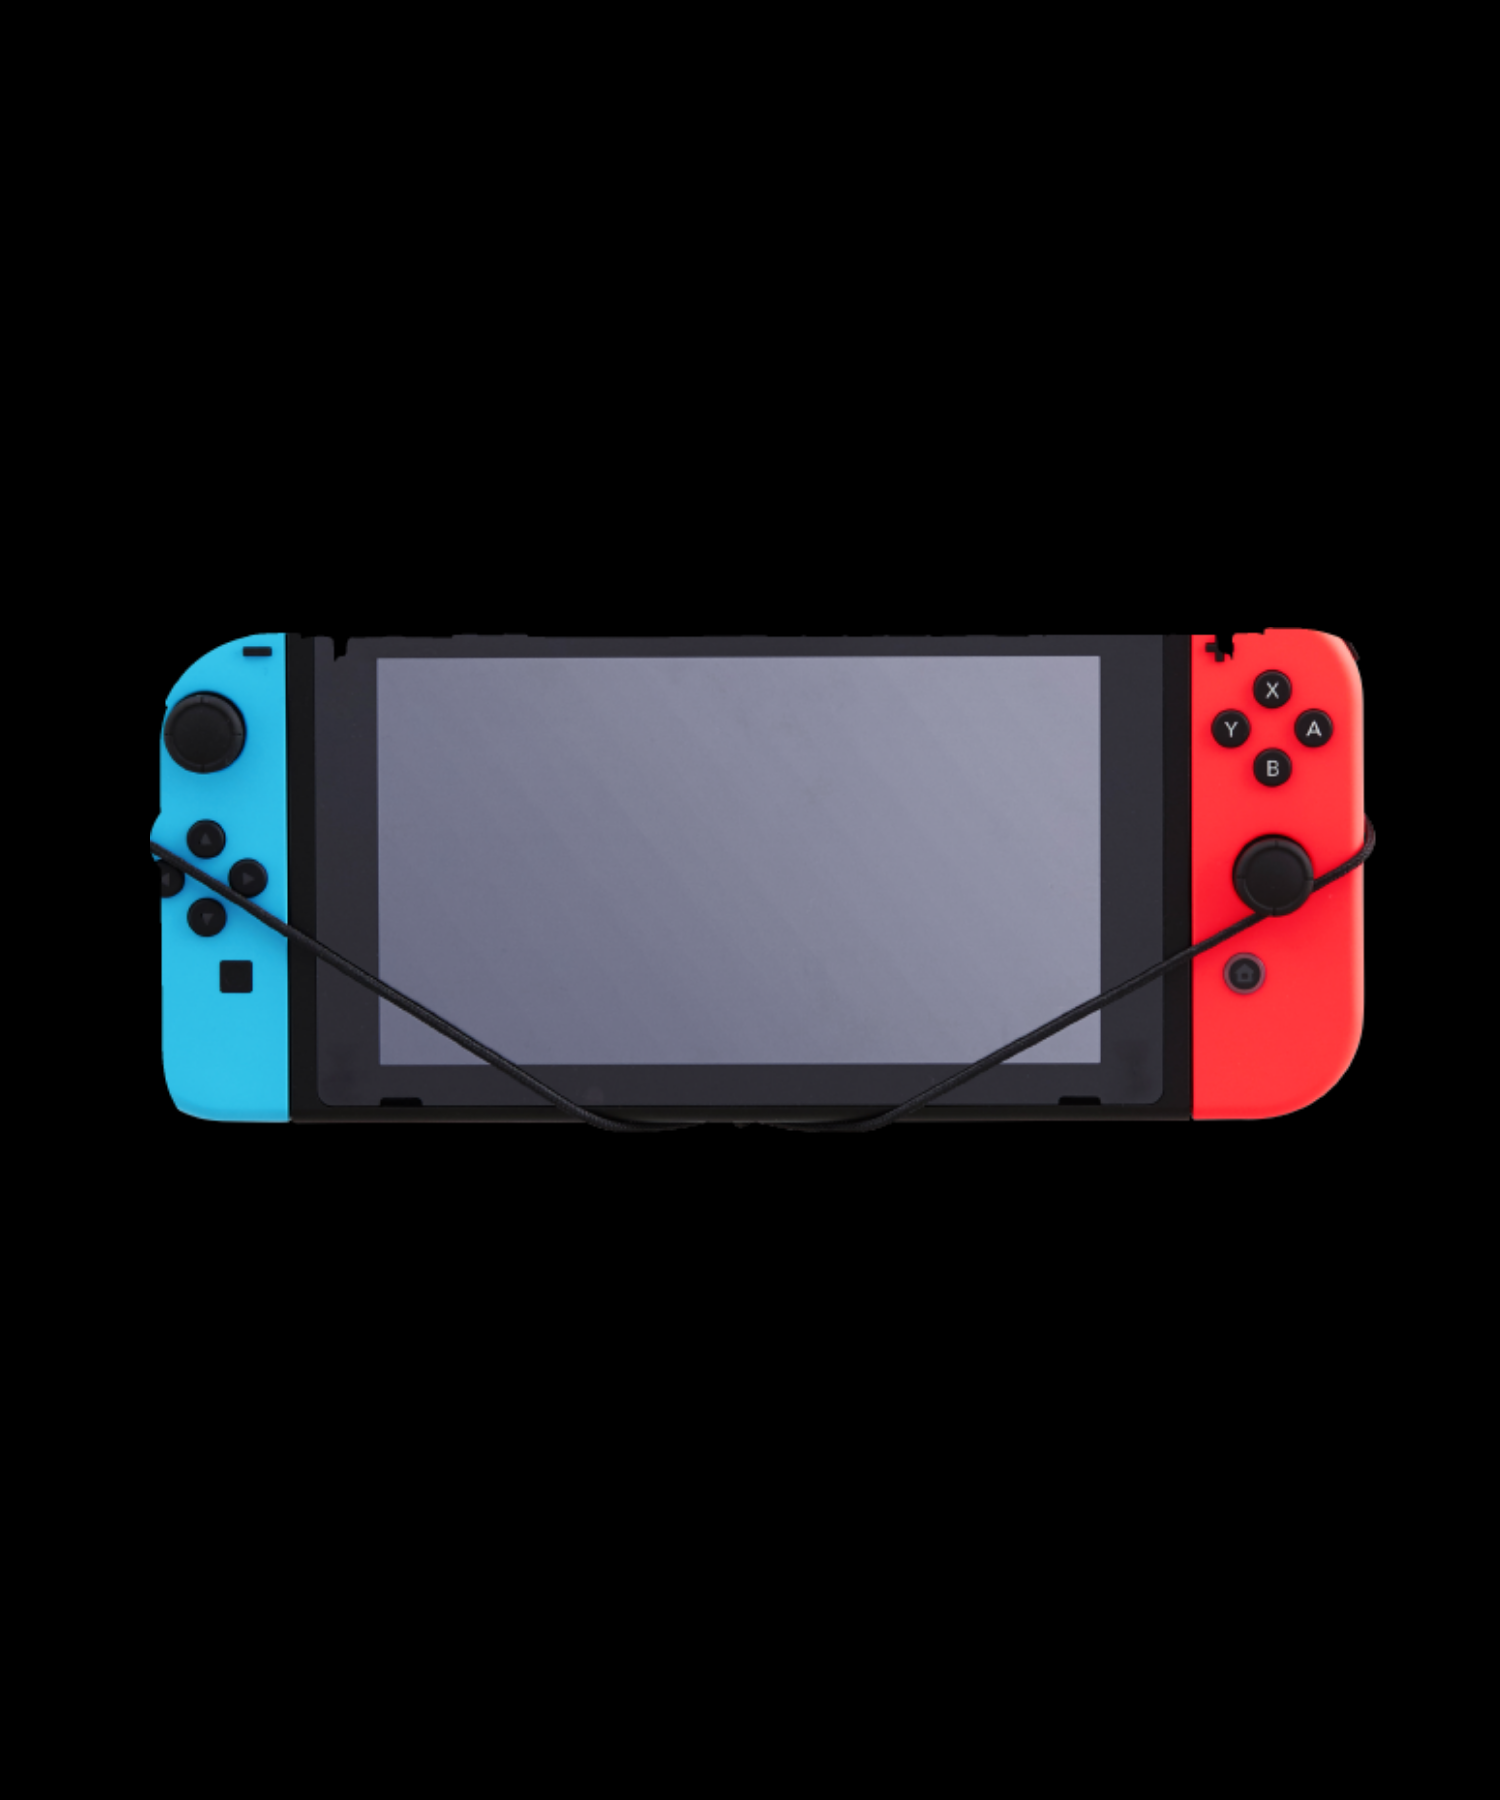
If you're a dedicated gamer, a wall mount for your console is a must! Keep your gaming consoles or other devices organised while taking up minimal space. Make sure you choose a console holder that can securely hold your device. We have wall mounts for Xbox, Playstation, Nintendo Switch, Nvidia and Xiaomi.
Need some inspiration? See what other gamers in the community have done! Check out their gaming rooms.
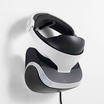
Ventilated Wall Mount
Ventilated wall mounts are an excellent choice for devices that generate heat, such as gaming consoles. A ventilated wall mount will allow air to circulate your device, keeping it cool and preventing overheating. When choosing a ventilated wall mount, look for those with built-in fans or vents that promote better airflow. Or better yet, choose one of our wall mounts and allow your console to float freely. Our mounts allow your consoles to breathe - they're not cased in by any heavy metals or plastics.
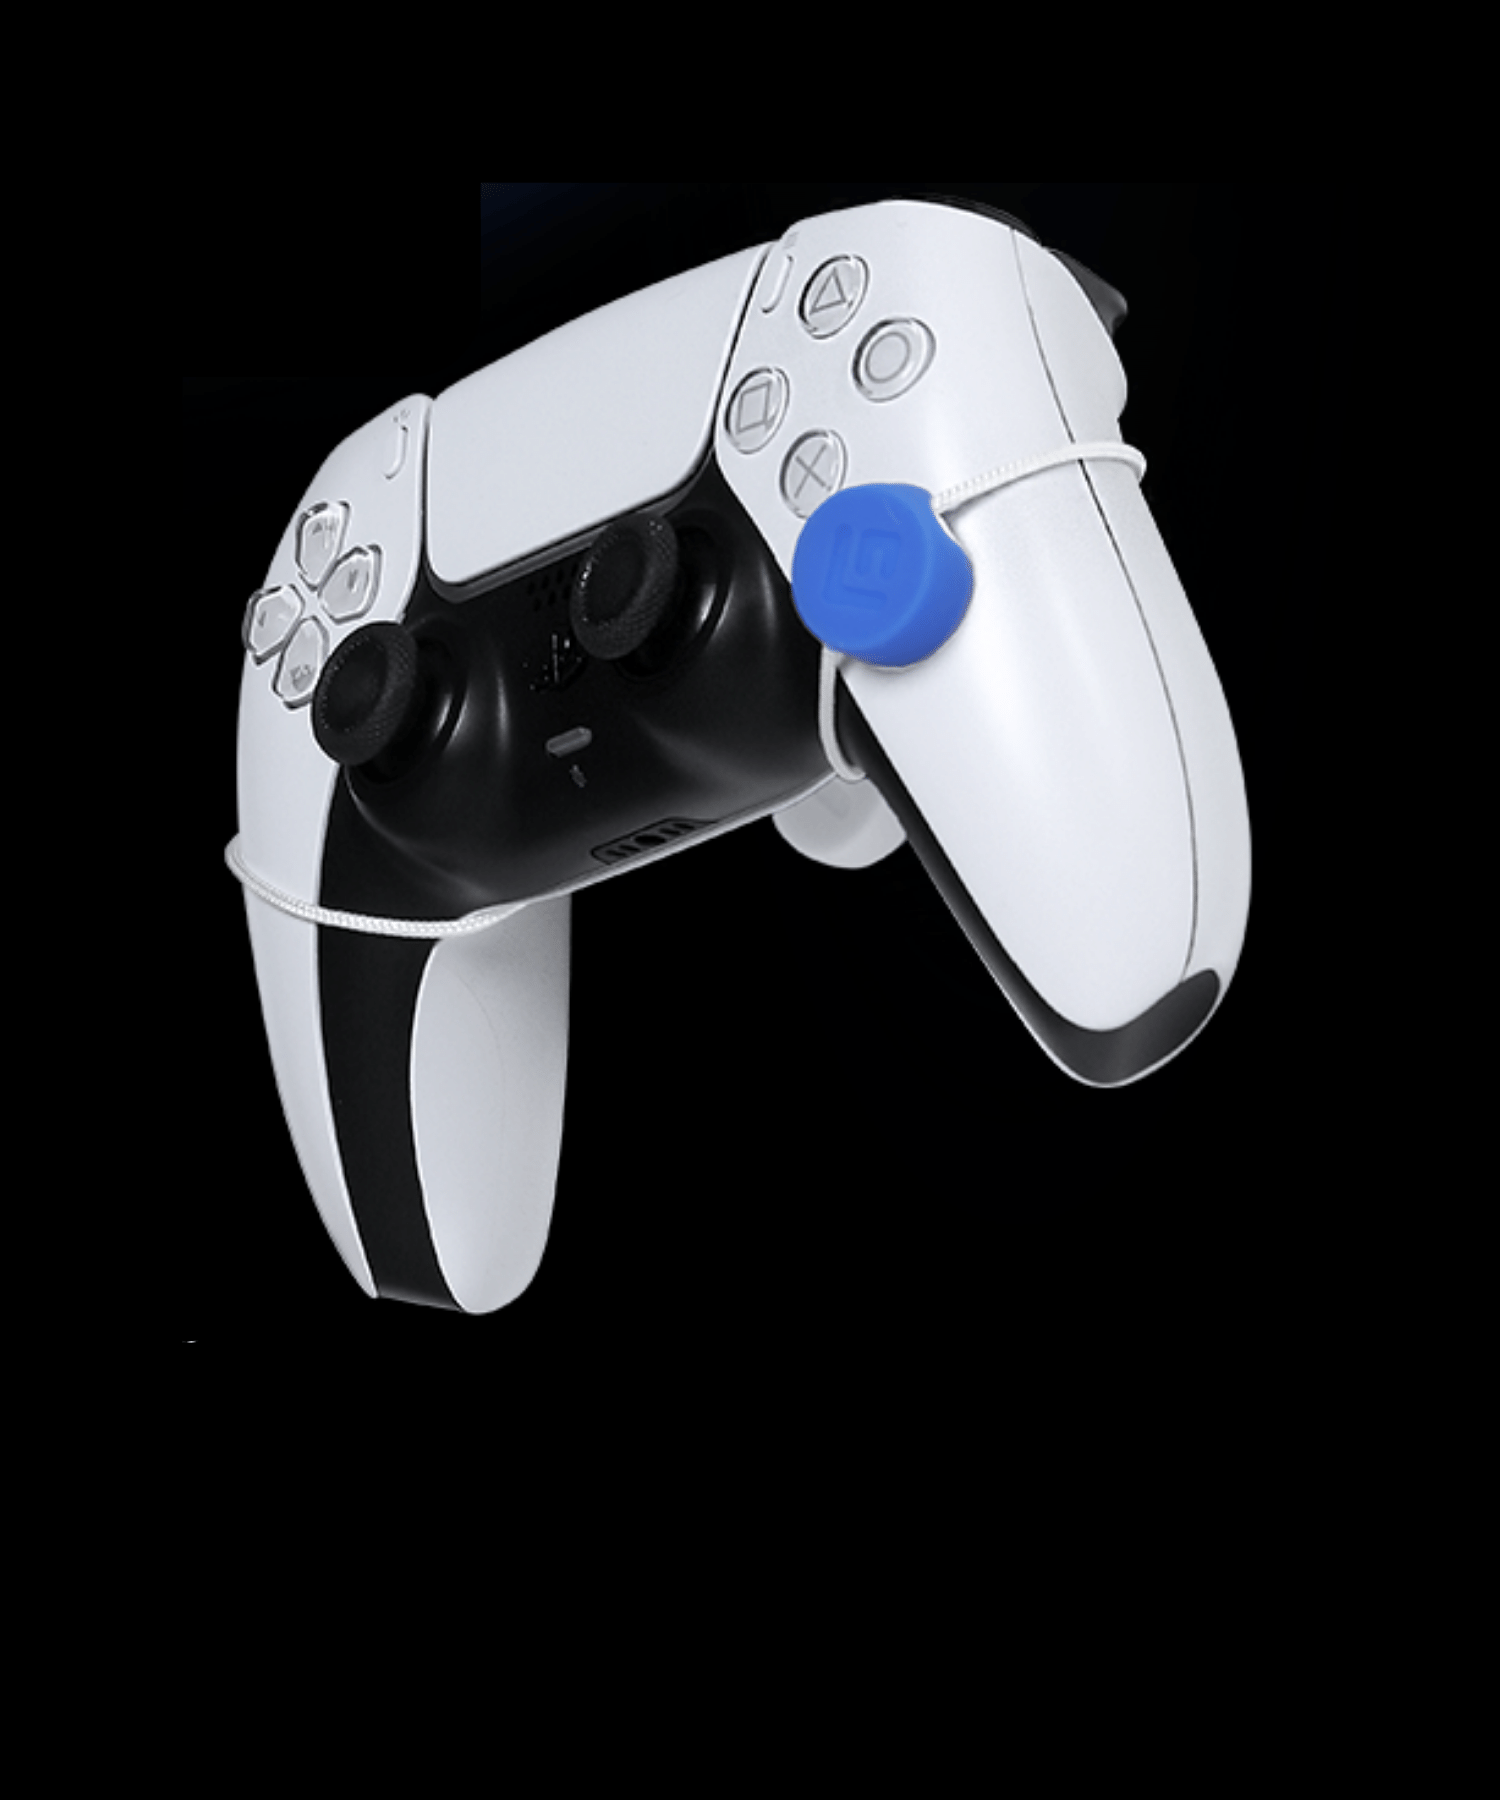
Rope Hanging System for TVs and Consoles
Our rope-hanging system is a unique and creative way to mount your gaming consoles. This system involves suspending your device using a sleek but strong rope. The result is magical. Your console is floating in mid-air!
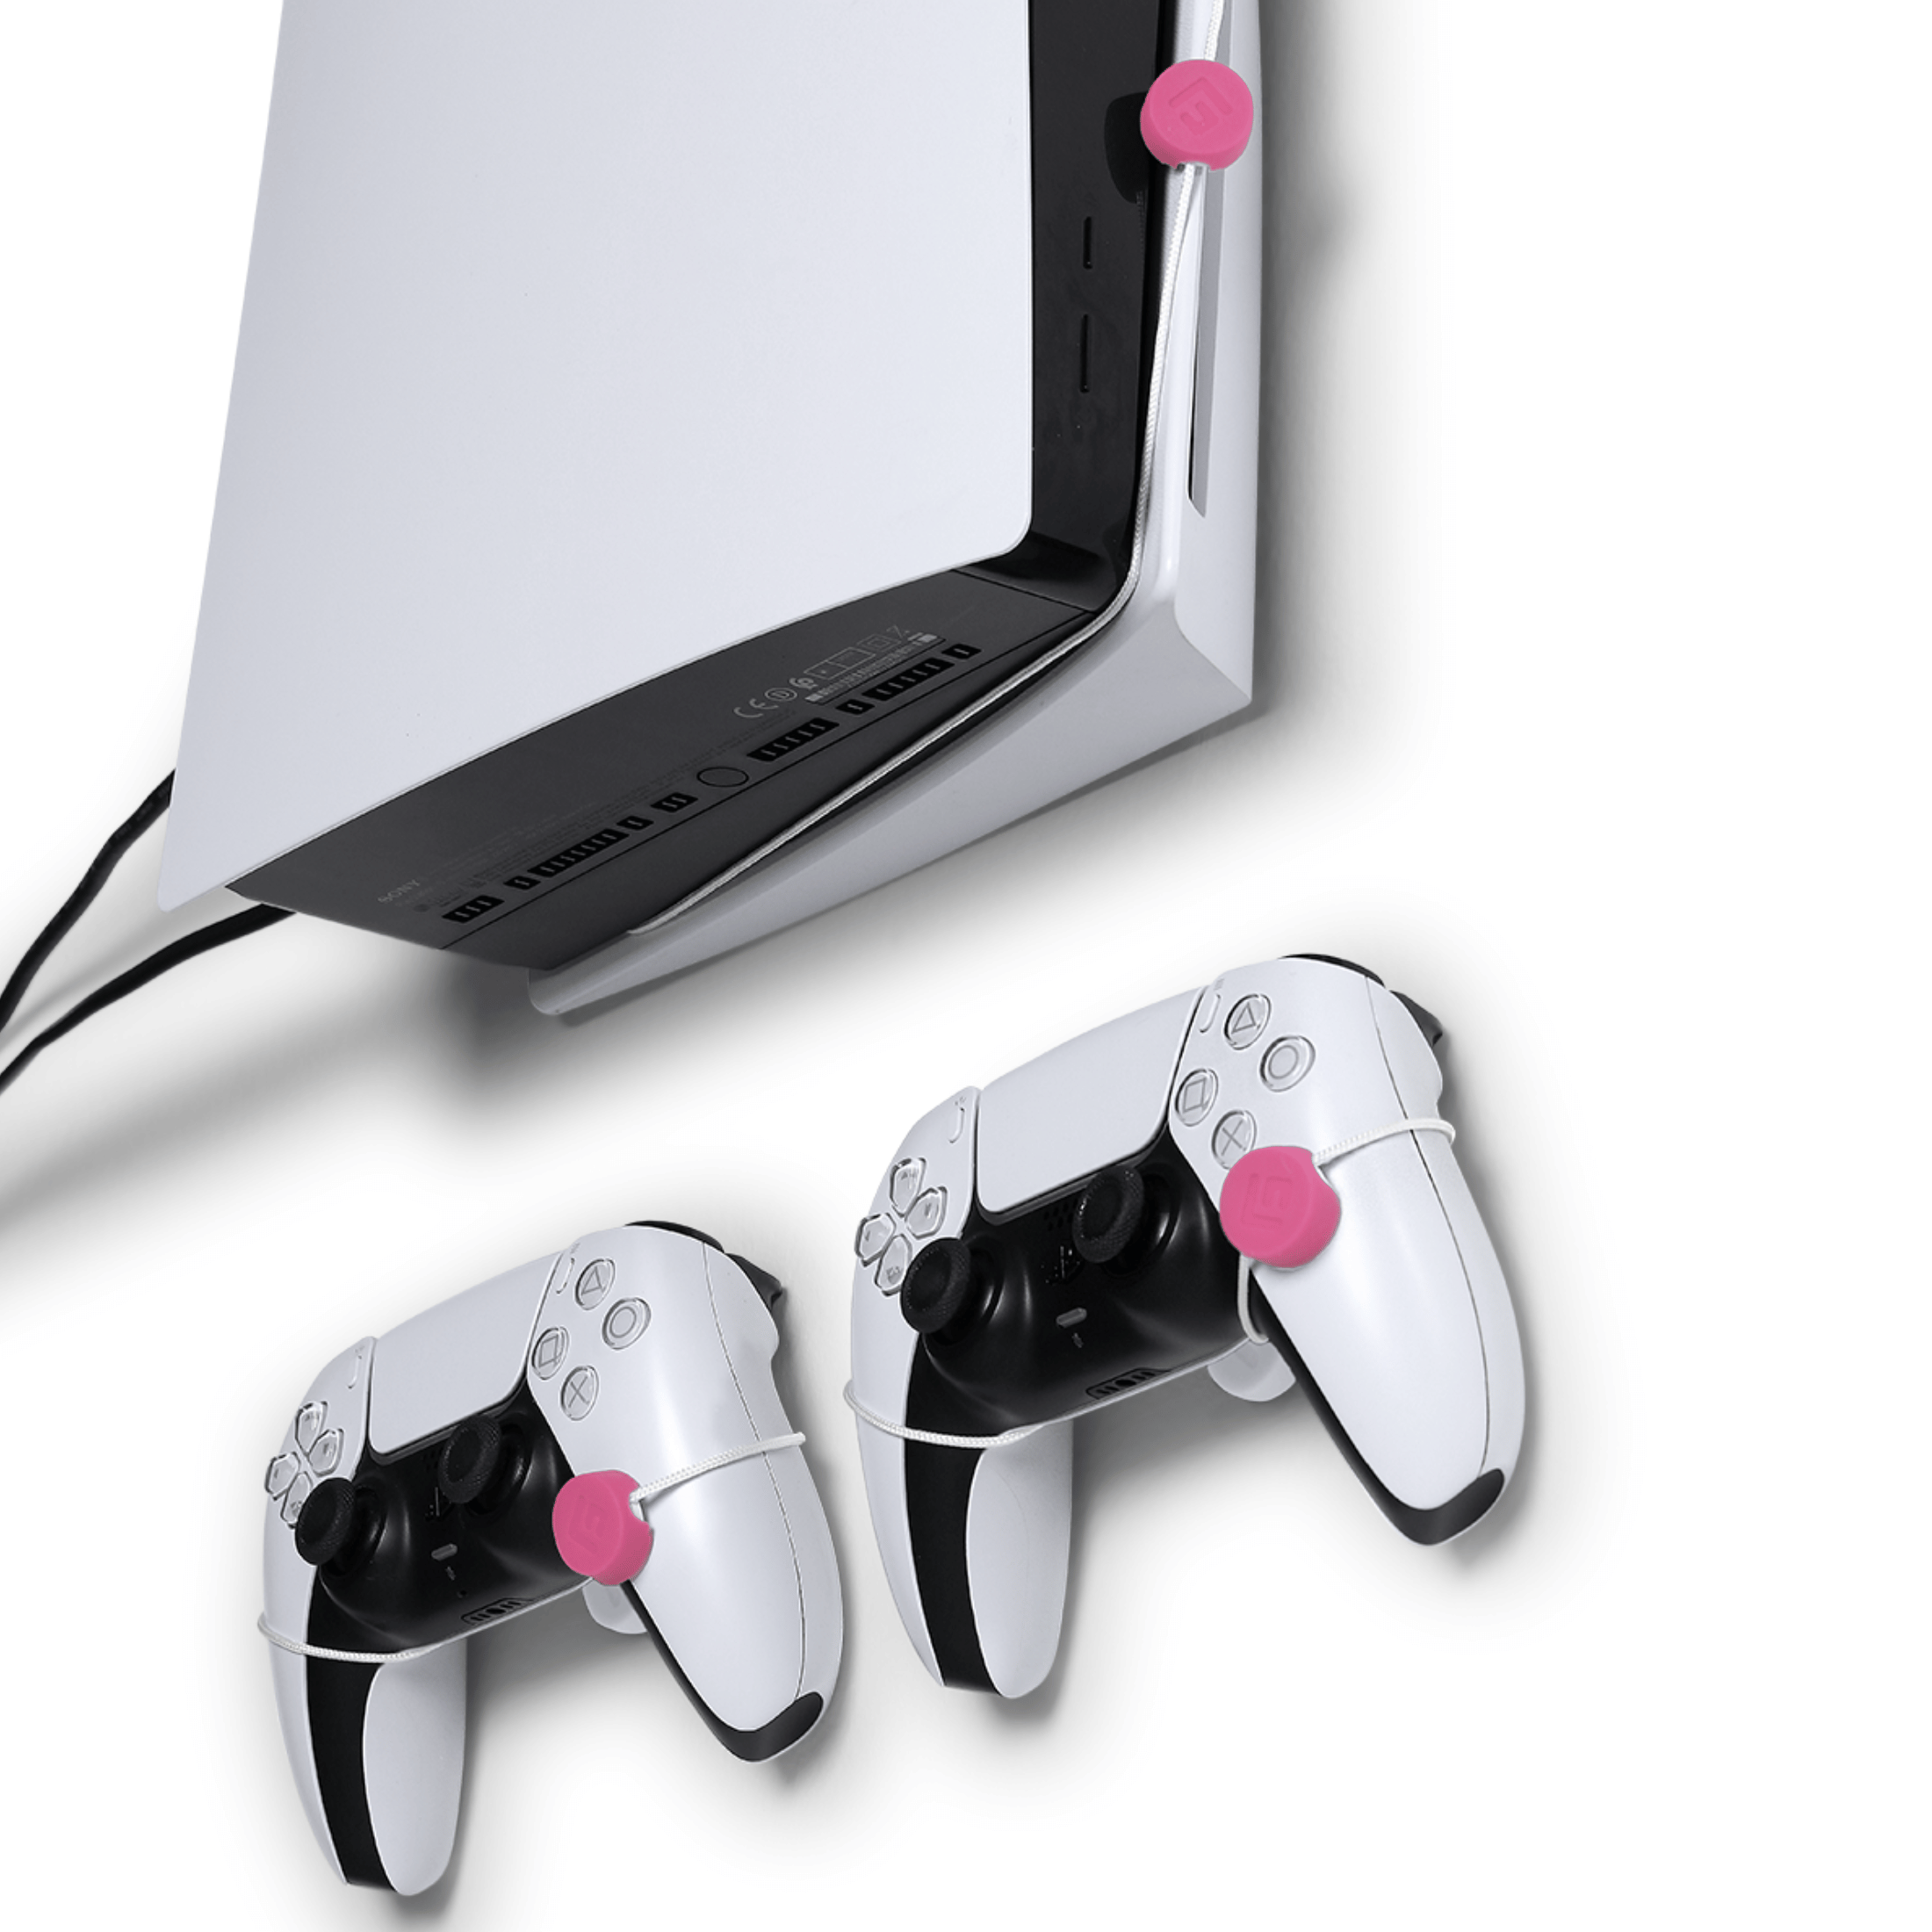
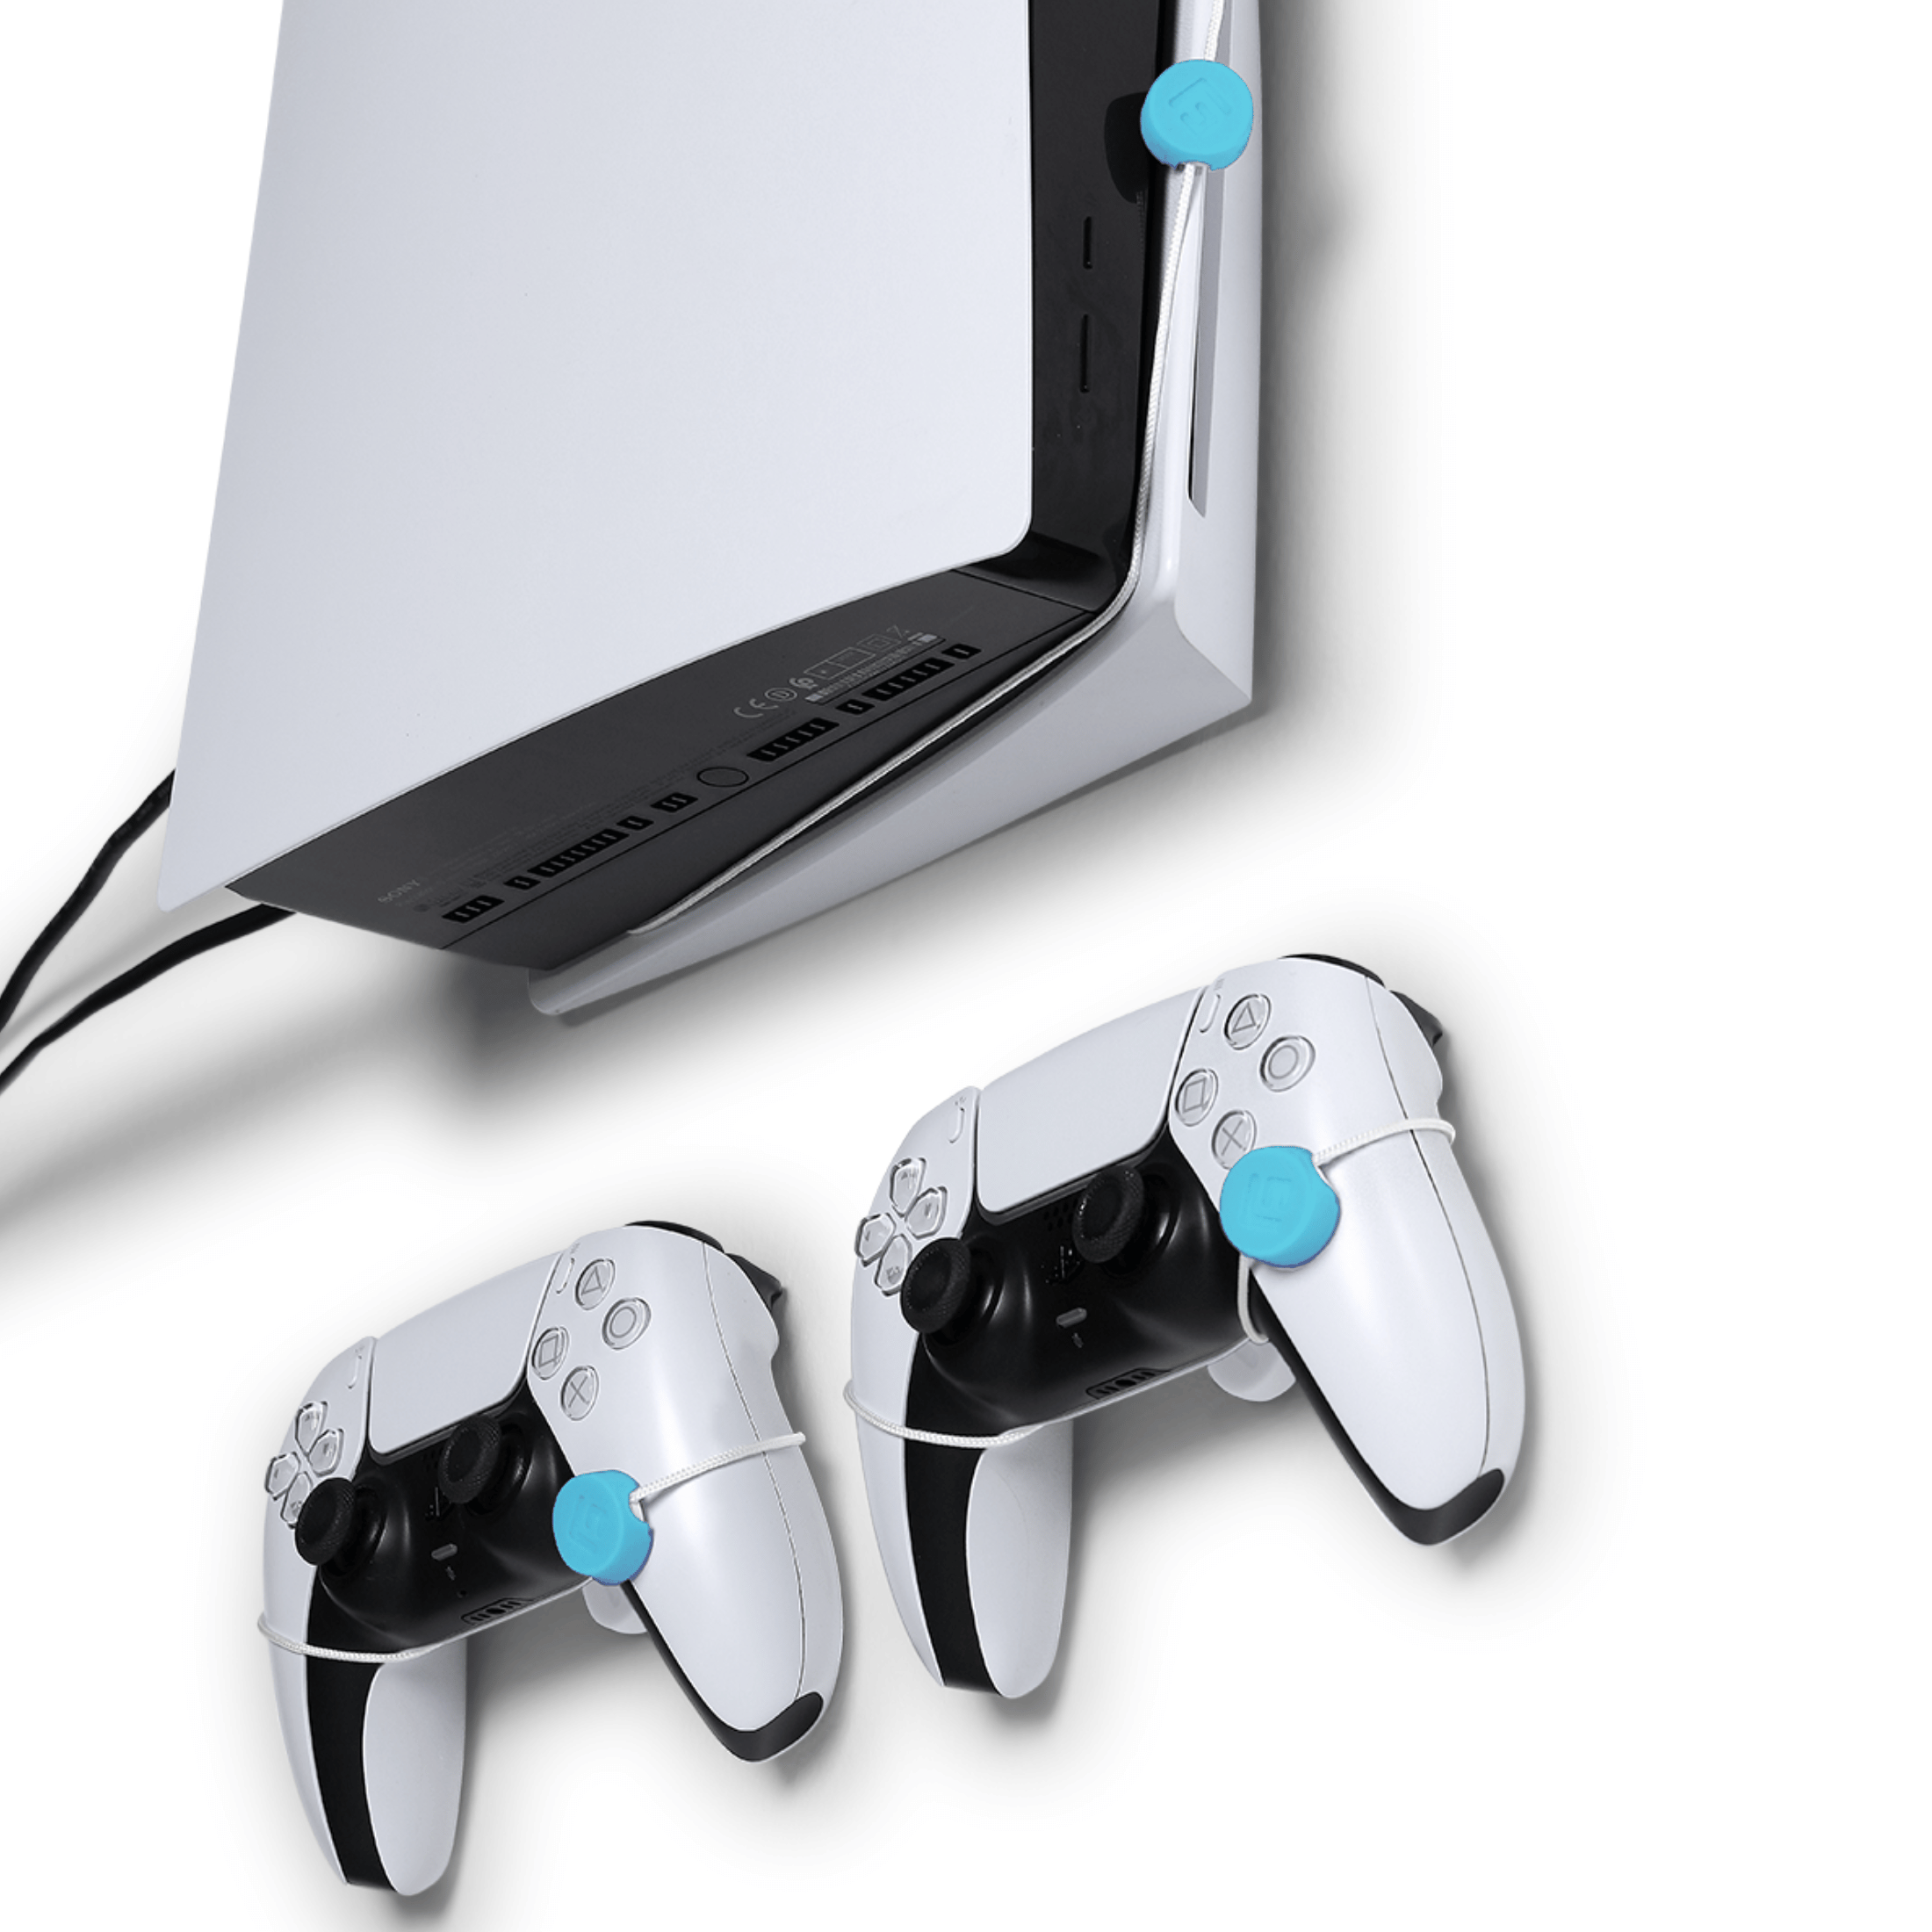
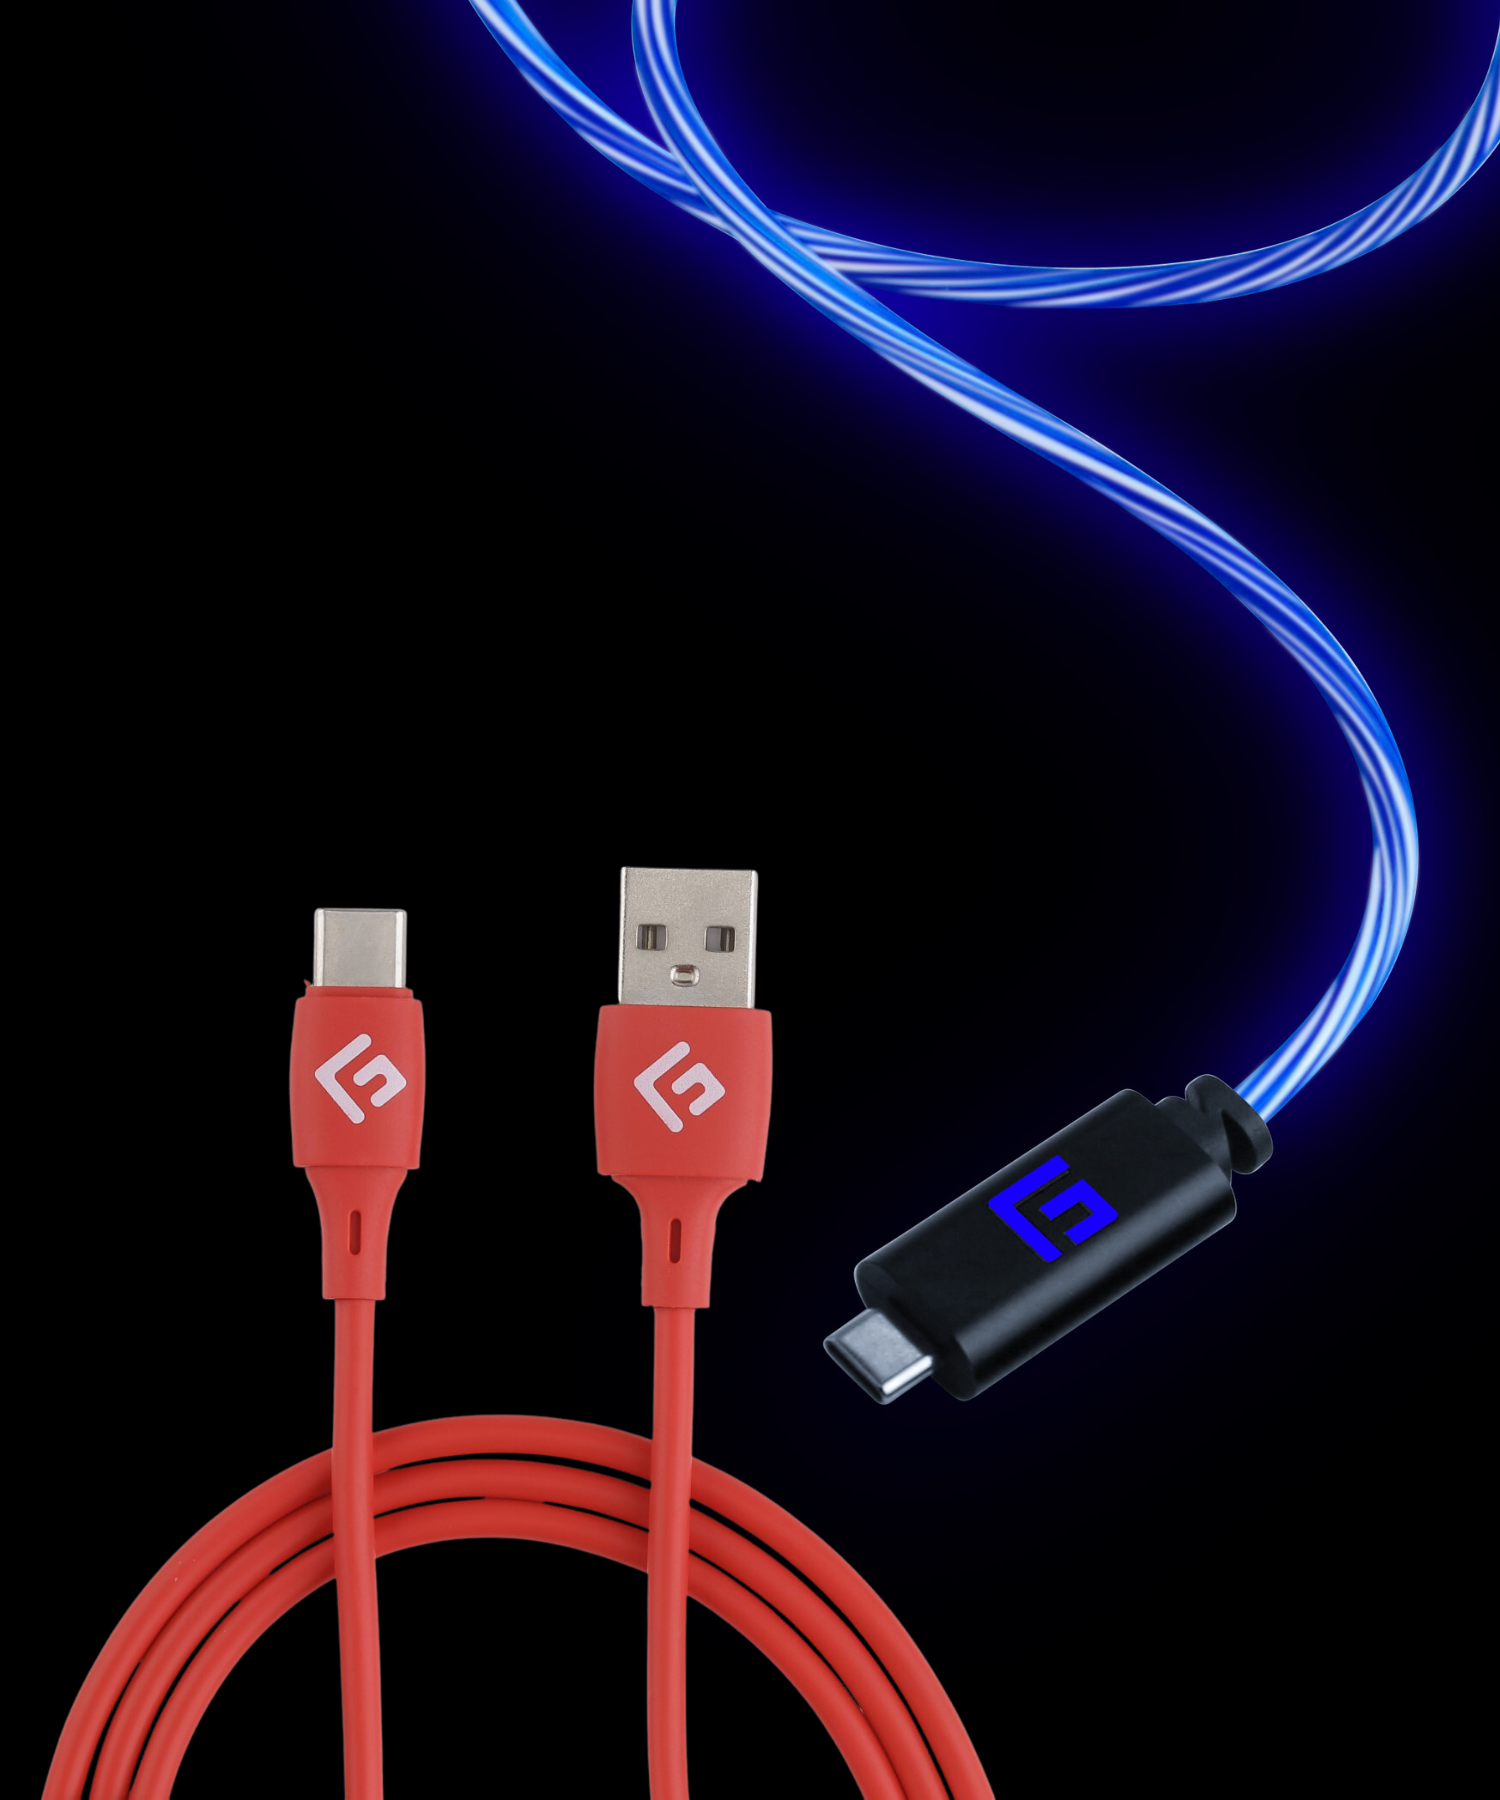
Colourful Wall Mount Cover Caps
If you want to add a pop of colour to your wall mounts, consider using colourful cover caps. These caps come in loads of colours and are designed to cover the screws that attach your device to the wall mount. They're an excellent way to add a touch of personality to your wall-mounted devices. No ugly screws or metal in sight!
The Installation Proces
Now that we've discussed some essential factors when selecting a wall mount, let's walk through the installation process.
Step 1: Choose the Right Location
Before installing your wall mount, choose where you’ll put it. Consider factors such as the height of your TV or device, the angle you want it to be mounted, and the distance from other devices or furniture. It's also essential to ensure there are no electrical wires or pipes behind the wall, as they may be damaged during installation.
Choosing the right location for your wall mount is crucial. The location should be based on your viewing preferences and the size of your device. When choosing a location, consider the following factors:
- Viewing Distance: The distance between your device and your seating area is crucial for an enjoyable viewing experience. The ideal distance for a TV is about 1.5 times the screen's diagonal length.
- Height: The height of your wall mount should be at eye level when seated. This helps reduce neck and eye strain.
- Surroundings: Choose a location with minimal glare and reflections. Avoid placing your device near windows or bright light sources.
- Wall Material: Make sure that the wall material can support the weight of your device and the mount. Floating Grip’s wall mounts can be mounted into all vertical walls, including drywall.
Now mark the location where you want to install the mount on the wall.
Step 2: Install the Mounting Parts
Once you have chosen the right location, it's time to install your mount.
We make it easy to mount your console on the wall with our rope-hanging system.
Our wall mount system is designed with strength and durability in mind. Made from a slim but sturdy rope, it can handle even the heaviest of consoles without any chance of falling or slipping.
Not only is the rope strong, but it also protects your console from any scratches that may occur during installation or use.
Simply attach three small circular mounting parts to the wall. The mounting parts stabilise and lock the ropes in place while the console is mounted.
The result? A sleek and sturdy wall-mounted display that makes it look like your device is floating on the wall!
Installation is quick and easy thanks to our simple template.
All you’ll need to attach the mounting parts to the wall is a screwdriver or a drill. They can be mounted on any wall surface, and our rope-hanging system comes with all the necessary wall plugs, screws, and anchors.
Step 3: Attach Your Device to the Mount
Once the mounting parts are securely in place, it’s time to attach your device. Simply place the rope behind the mounting parts and then sit your device into the loops in the rope. See this video to see how it’s done.
Wall mounting is a fantastic way to save space and create a sleek and stylish look in your gaming room.
Ready to get your own? Check them out here.
_______________________
IMAGE CREDIT
Image by one of our awesome customers: https://www.instagram.com/pupiconsolas/

Dejar un comentario
Todos los comentarios se revisan antes de su publicación.
Este sitio está protegido por reCAPTCHA y se aplican la Política de privacidad de Google y los Términos del servicio.